You have your beautiful sourdough starter, but then something happens, my be life happens and you stuck your buddy in a jar in the fridge and ….forget about it for a long while…..The poor thing looks dead once you finally have time to attend to it. I think you should definitely give a try at reviving your starter. Here is how I revived my starter:
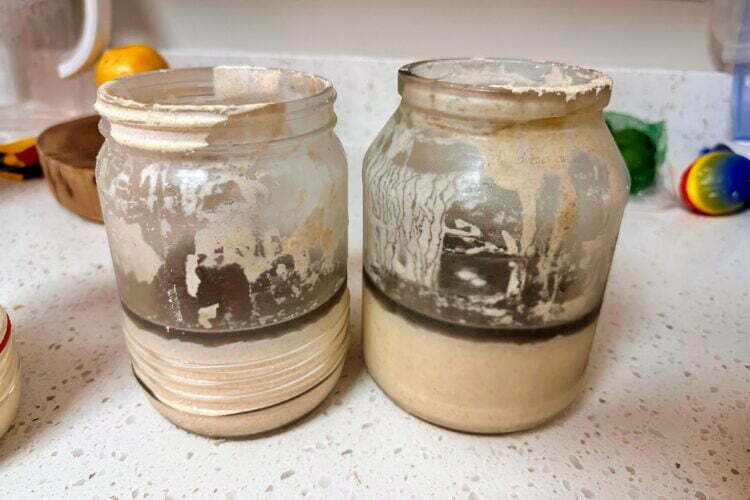
This is what my sourdough starter looked like when I finally got it out of the fridge. It had a half an inch of think BLACK liquid on top. Usually, if you forget to feed your starter you will see some liquid on top – it’s called hooch. some people stir it in – to make the flavor more sour, some people prefer to pour it out and feed starter as always. This one looked different, I thought my starter was dead. I left starter in the fridge for a more than 3 months, so when I got it out of the fridge I was sure ti was dead.
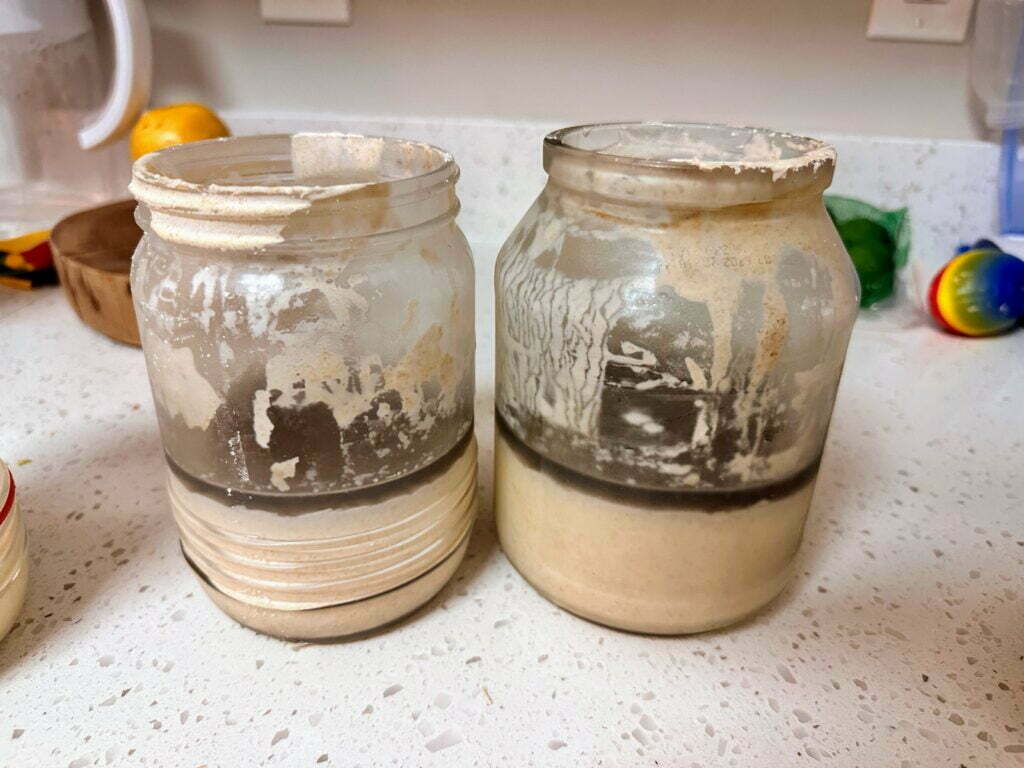
I also had a third jar with sourdough starter. Third one didn’t sit in the fridge as long as two above, but it was also looking not so good. It has this grey/black-ish spot besides having “hooch”:
How to bring sourdough starter back to life:
#1. Remove the liquid
Even though sometimes you can mix in the liquid (“hooch”), in this extreme situation I decided to pour it out. Get rid of the liquid that is on top of your starter. Just dump it in a sink.
#2. Scrape off top layer
Once the liquid is gone, I scarped off the top layer that was under the hooch. My top layer was grey-ish color. By scraping the top layer, I was trying to get rid of any possible bacteria that might be still in a jar.

#3. Feed your starter
This step is familiar to you. Just feed your starter like you would always do. Don’t change proportions or anything. I didn’t change jars – I used same jars, didn’t clean them. Just fed it in the same proportions like always – 1 part starter : 1 part water : 1 part four. Your feeding proportions might differ.
#4. Watch it bubble
While you are reviving your starter, I would not put it back in the fridge. I would leave it on the counter, in a warm, draft free corner. Also, make sure your kitchen is not too cold, I would say try your starter in at least 70 degrees while you are trying to bring it back to life. Once it’s alive and bubbly, you can follow your routine – either leave it on the counter or have it in the ridge.
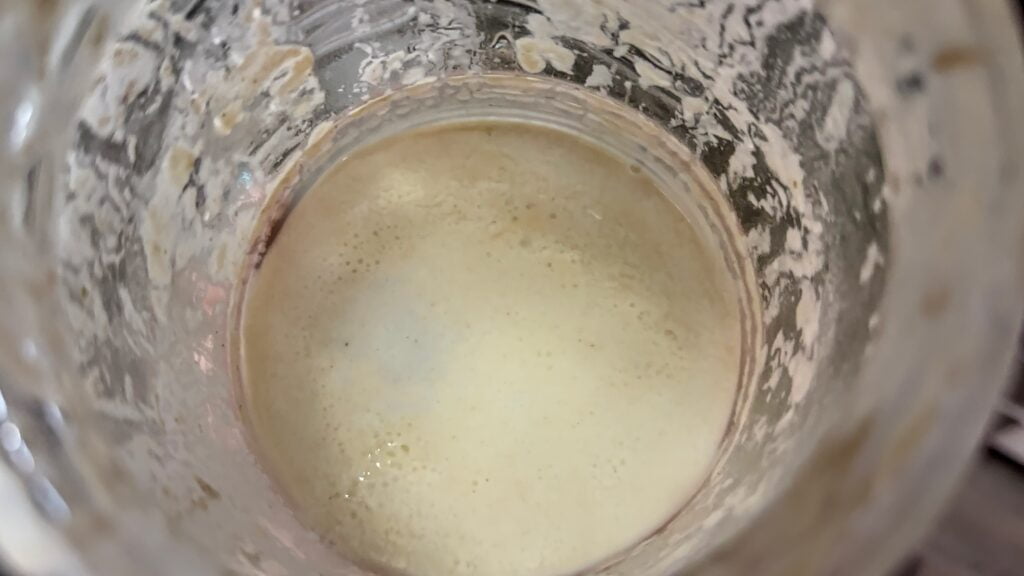
Once it is fed and sitting on the counter we need to watch for bubbles! Bubbles, even tiny bubbles, one, two or even three bubbles it is a GOOD sign. They may appear right away after 2-30 minutes of you feeding your starter, but don’t get discouraged if you don’t see them right away. Leave your starter on the counter for at least 12 hours before reviewing the results.
This is what my starter looked like right after feeding it – you can see 3 tiny bubbles.

Depending on temperature in your house and state of your starter it might take you 2 or more feeds to get back to happy bubbly state.
If your starter is not doubling even after 2 feeding, but you know it is still alive, you can these troubleshooting tips:
3 Reasons Your Starter Is Not Doubling
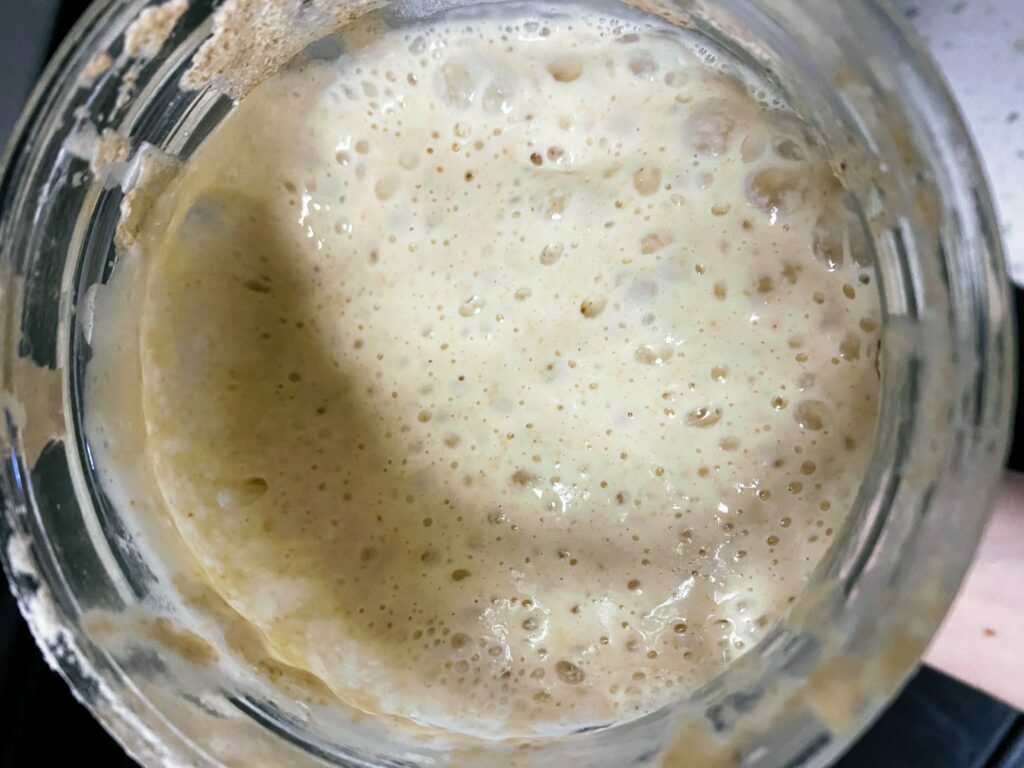
This is what mine looked like after revived it. TA-DA! it’s bubbly and active and I can bake with it now.
However, if all that didn’t work, you can always try to create sourdough starter from scratch or buy one.
Benefit of buying a starter is that you can buy an established one, that will survive no matter what or how long you leave it in the fridge. Speaking from personal experience, I bought this one and I do not regret it, no matter what I put it through, it takes me one or two feeds to get it back to bubbly state and ready for baking.


[…] your starter is not active, you can reactivate your starter by discarding a portion of it and feeding it with equal parts flour and water. Repeat this process […]